Introduction
Water colour works differently from most other painting media in that it uses the white of the paper itself for the white or light tones in the
picture. In this it is similar to working with coloured pencils or pastels on a white paper.
Laying down washes of colour
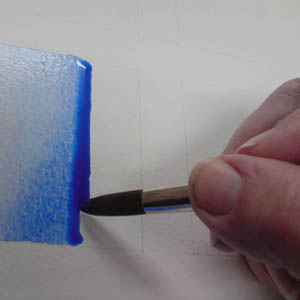
If you want to lay down an unbroken wash of colour across an area it is important that the advancing edge of the wash isn't allowed to become
dry as this will produce a hard edge. The solution is to tilt the board and allow the colour to run down as you work downwards. You will need
to continue working at en even rate without stopping to produce an even result.
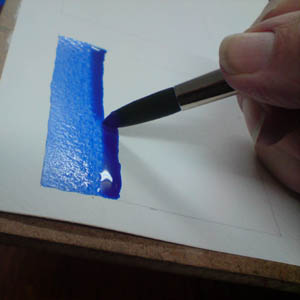
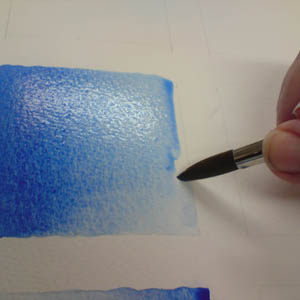
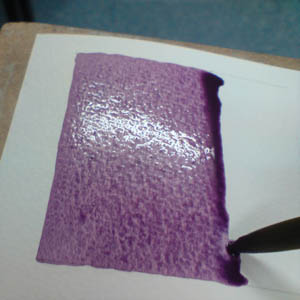
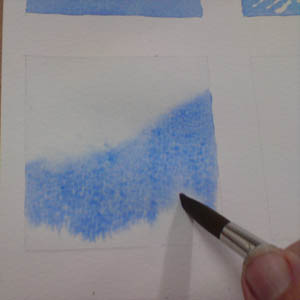
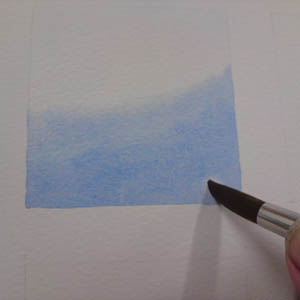
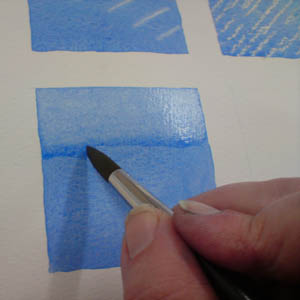
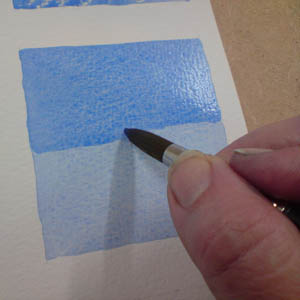
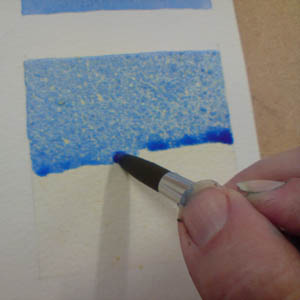
Colour is applied with a fully-loaded brush in side to side brush strokes that should merge with the colour above. Lift out excess colour from the
bottom of the area with a clean damp brush (second picture). Leave the board tilted while the colour dries so that the colour does not run back
upwards. It can be an advantage sometimes to dampen the paper surface first with clean water, but do not dampen beyond the area to be coloured.

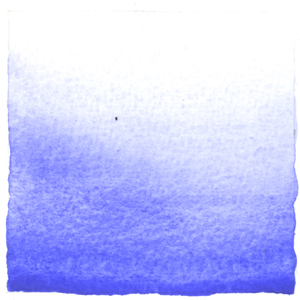
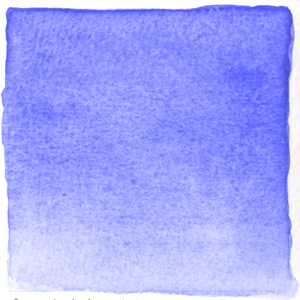
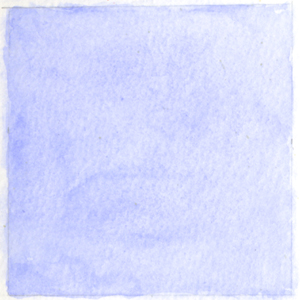
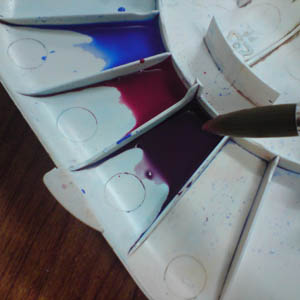
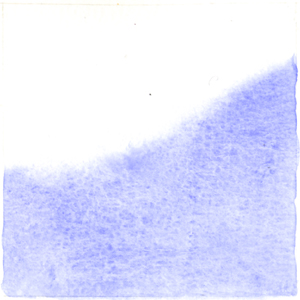
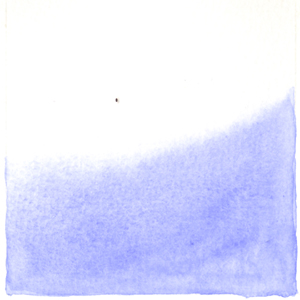
Often you will want a wash that varies in strength. Firstly prepare different strengths of the required colour in the mixing palette. Test these
out first on a scrap piece of paper to check their relative strengths. To make a wash that goes from light to dark, start with clean water at the
top of the area and gradually change to the strongest wash as you work downwards. The change to a stronger mixture will not take immediate effect
however due to the more watery washes running down from above. Some experimentation is required to judge when to increase the strength of the mixture.
Alternatively if you need a wash going from dark to light, start with the strongest wash at the top and finish with clean water at the bottom.
Again colour running down from above will tend to strengthen the colour even though you will be adding weaker mixtures, and you will need to
experiment to achieve the result you want.
An alternative way to apply a wash is to apply it with a sponge. This can be suitable for applying light washes across large areas of paper, for
example as a light base colour to a painting. It is difficult, however, to control the edge of the sponged area.
Achieving mixes of colour
The final colour of a section of the painting can be arrived at using two different techniques, or by using a combination of the two methods.
The simplest way is to mix the required colour first in the palette and apply it as a single wash of mixed colour.
Alternatively apply one colour wash over another to achieve the desired colour. This can result in a more attractive colour mix and is one of the
attractive features of water-colour painting.
Creating light areas within areas of colour
Since the white of the paper itself is going to form the light parts of the picture you need to use one of several methods of keeping the paper
white in those areas. The method chosen will depend on the kind of light area or highlight that you want to achieve. It is often better to leave
too many rather than too few light areas, as they can always be filled in with subsequent washes of colour if required. Some people use white
paint ('Chinese White') for small highlights, but using this method runs the risk of loosing the translucent quality of water colour that makes
it different from other media.
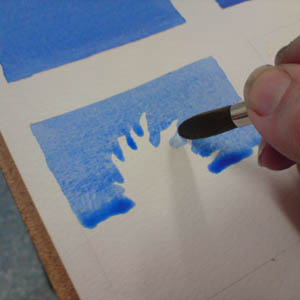
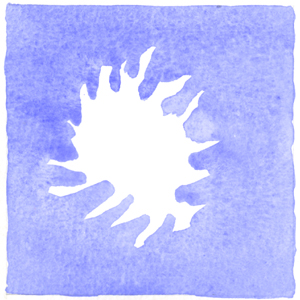
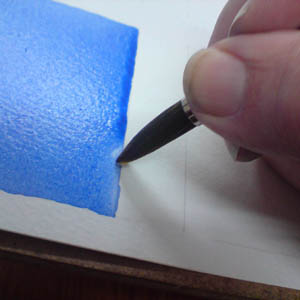
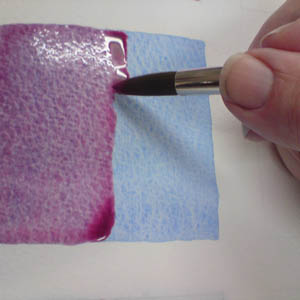
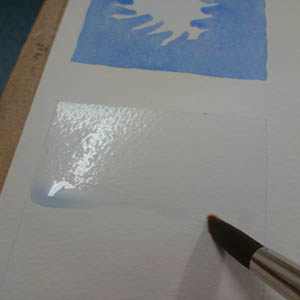
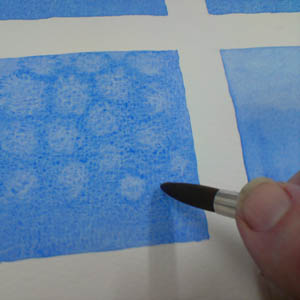
Reasonably large well-defined areas can be easily painted around, leaving the area white. Note that it may be necessary to remove any excess
colour that might be trapped in certain areas as you go (second photograph).
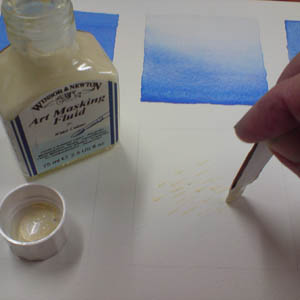
Small areas of highlight can be achieved by using masking fluid. Apply the masking fluid with a piece of card or match stick as it can be very
difficult to clean from brushes. The cream coloured masking fluid shows up better on white paper so that you can see where it has been applied.
Wait for it to dry before applying water colour straight over the top. Do not worry if some paint adheres to the masking fluid as it will be rubbed
off when the masking fluid is removed. Rub off the masking fluid when the water colour is thoroughly dry.
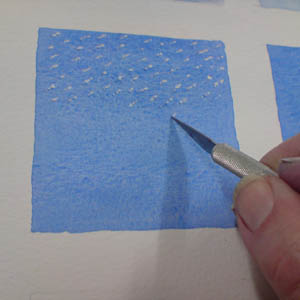
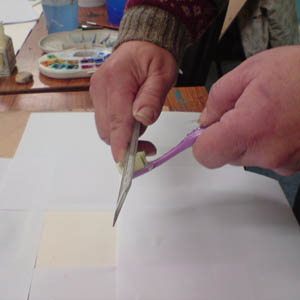
Very small areas of highlight can be scratched out when dry. You will need a knife with a very sharp slightly flexible blade. Make sure that the
water colour wash and the paper are completely dry first.

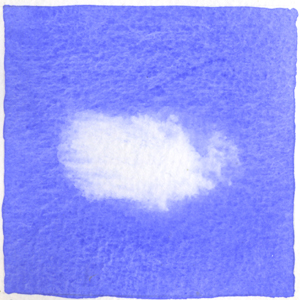
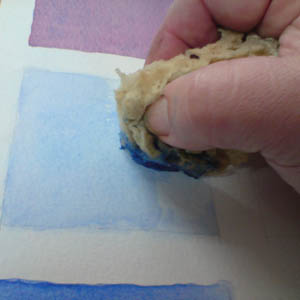
Soft-edged highlight areas can be sponged out after the colour has been applied. Such a technique could be used to create clouds in a sky for
example.
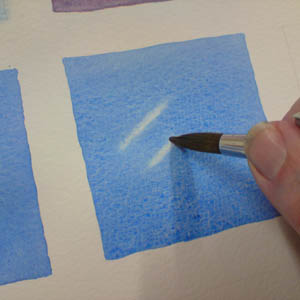
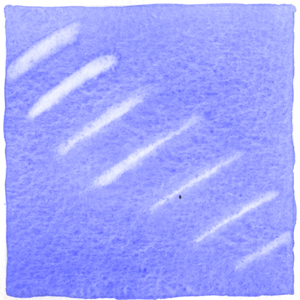
Smaller soft-edged highlights can be lifted out with a water-colour brush, although it may not always be possible to get back to the white paper.
Results may vary depending on the paper used, and on how dry the wash is.
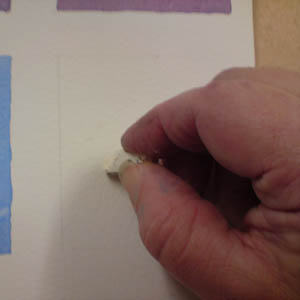
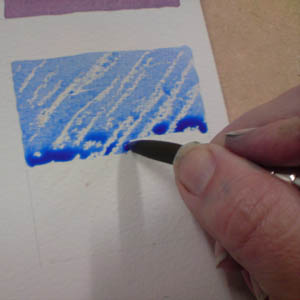
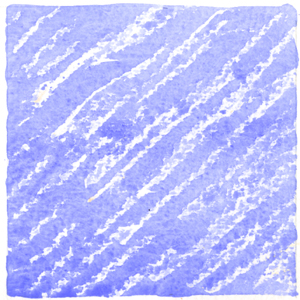
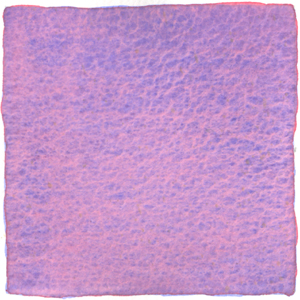
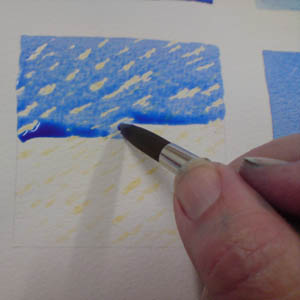
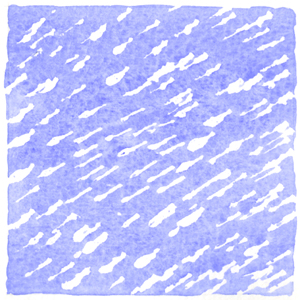
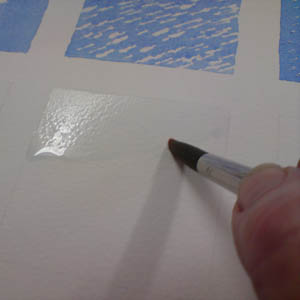
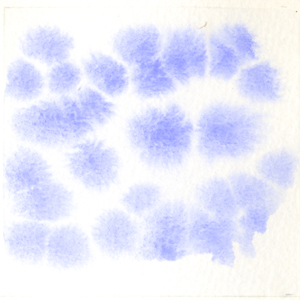
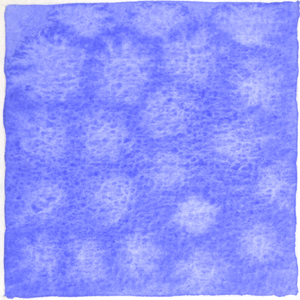
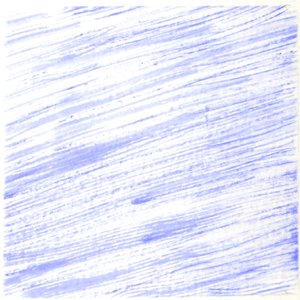
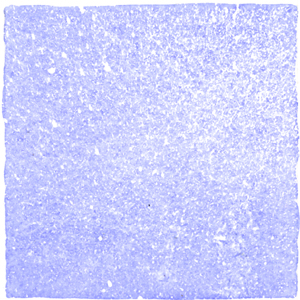
Wax resist technique. Irregular broken areas of highlight can be created by working over the surface with clear wax or a white oil-pastel before
the water colour is applied. The wax will mostly resist the paint when a wash is applied over the top. The wax is left on the paper so it means
that it will also resist any subsequent washes of colour; in this it is different from using other methods of producing highlights.
Giving a soft edge to an area of colour
The edge of an area of water-colour wash will generally be a hard edge when it is dry. Sometimes however you will want to create a soft edge to
an area of colour.
Where a soft edge is required to an area of colour, you can apply clean water across the whole area first. Take care with edges as colour may
subsequently run into any area that has been dampened. Apply the water colour where required onto this wet surface. Note that if the surface is
too wet it may make the colour run out of control.
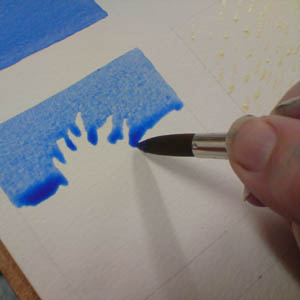
An alternative way to achieve a soft edge is to apply clean water to the adjacent area only and ensure that the colour wash comes into contact
with this wet area as it is being laid down.
Wet into wet techniques
These can be used for special effects. The method cannot be completely controlled but can be effective, particularly for clouds, for example.
Apply drops of colour into a surface dampened with water allowing the colour to run and bleed.
An alternative approach is to drop clean water into an area of colour and allow the water to push the colour away.
Lightening and darkening washes of colour
The first colour wash doesn't have to be the final effect. It can be modified by subsequent washes.
A wash can be lightened by going over it with a damp brush and re-working the colour wash gently. This can be useful if the first colour wash was
too heavy, or if it was unevenly applied. Generally speaking however this technique is best use sparingly as it can result in a rather over-worked
look.
A wash can be darkened by simply applying further washes of colour over the top. In this case try not to disturb the first wash any more than you
have to, by using a light touch on the brush.
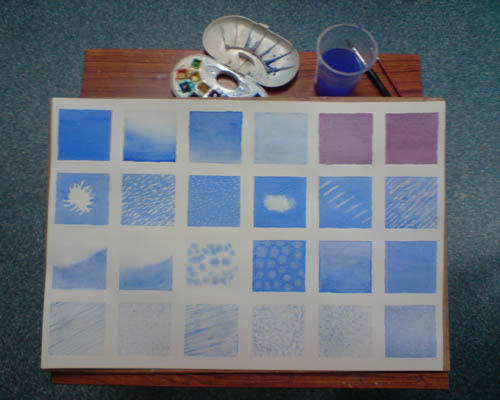
Creating textured effects and detail
Texture and detail can be added using a variety of techniques. Generally this is best done after the basic colour has been achieved using washes.
Bear in mind though that the texture itself will make any colour wash underneath look darker. If you apply washes on top of these textured effects
they will tend to blur the effect.
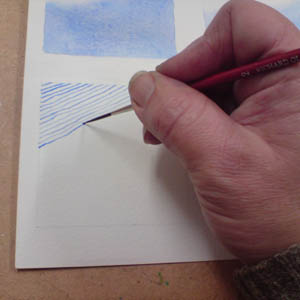
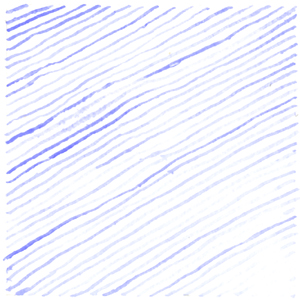
Fine lines can be added using a 'rigger'. This type of brush has longer hairs than normal and will produce longer more even lines of colour. Use
just the tip of the brush with very little pressure, keeping the hairs more or less straight; the paint will run down the hairs of the brush as you
move along.
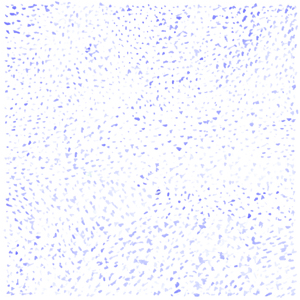
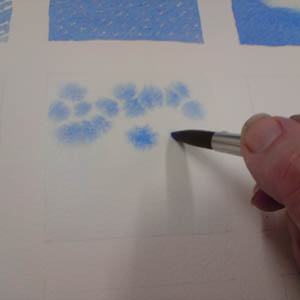
The same type of brush can be used to apply small dots of colour. Any small round brush could be used for this.
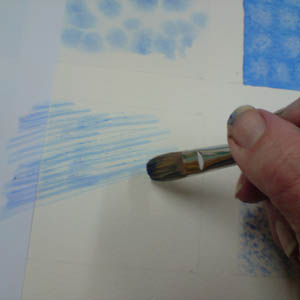
Another way to produce texture is to drag a semi-dry brush across the paper. Using a stiffer brush (such as a brush for oil or acrylic painting)
can work well with for this technique. Test out the colour on a piece of scrap paper first.
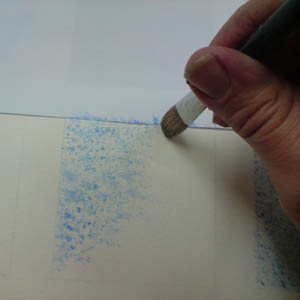
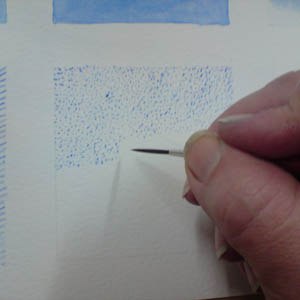
Stippling with a stiff brush. A stiff brush can also be used to produce a stippling effect. Again test the colour first on a scrap piece of paper.
A scrap piece of paper can also be used, as shown here, to mask off the edge of the area. A stippling brush (which has a wide, round, flat end)
could be used for this work).
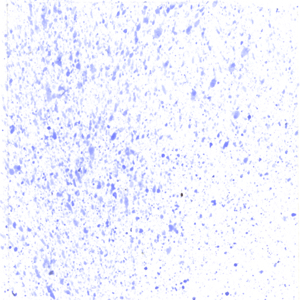
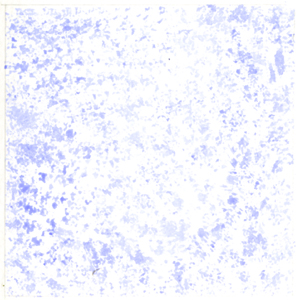
Splattering paint can be an effective way of representing texture. First make sure that all surrounding paper is covered up with pieces of scrap
paper (you may need to use objects to weight it down). Beware; it is sometimes surprising how far the splatter can go! You will need a fair
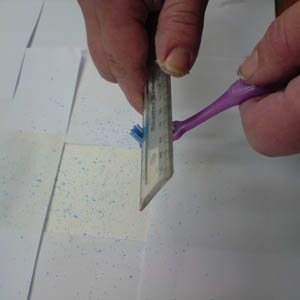
amount of colour to fully load the brush. An old toothbrush works well but you could use a stippling brush. Hold a ruler at a low angle and slowly
drag it backwards towards you, releasing the hairs of the brush gradually. Practice this first on scrap paper as the size of the blob depends on
how wet the colour is. Be careful that excess colour doesn't fall directly from the brush onto your artwork; you may need to wipe it clean around
the hairs and it is best to hold the brush back from the area being treated.
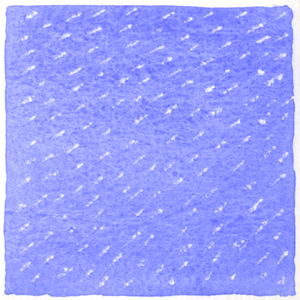
An interesting reversal of this technique is to splatter masking fluid onto the paper. After the wash has been applied and the masking fluid
removed you will have fine white dots across your water-colour wash. Fortunately masking fluid can be fairly easily cleaned from toothbrushes,
although it is not recommended to use them for their original purpose subsequently!